JavaScript's .map Method and React Rendering
Understanding Array's .map Method
The .map method executes a specified function for every element in an array and creates a new array from the results. Here's the basic syntax:
let newArray = oldArray.map(function (item) {
  // Do something here
  return newValue;
});
Here, oldArray is your original array, and newArray is the newly generated array. Inside the function, item represents the current array element being processed, and newValue is what gets added to the new array.
Let's look at a concrete example. Say we have this array:
let numbers = [1, 2, 3, 4, 5];
If we want to double each element in this array, we can use the .map method like this:
let doubled = numbers.map(function (item) {
  return item * 2;
});

console.log(doubled); // [2, 4, 6, 8, 10]
As you can see, .map makes it easy to perform an operation on each element of an array and store the results in a new array. It's non-destructive, meaning it creates a new array instead of modifying the original one.
The .map method is one of JavaScript's most powerful tools. It lets you implement array transformations in clean, readable code. Give it a try in your own code - you might be surprised at how often it comes in handy!
Using .map in React
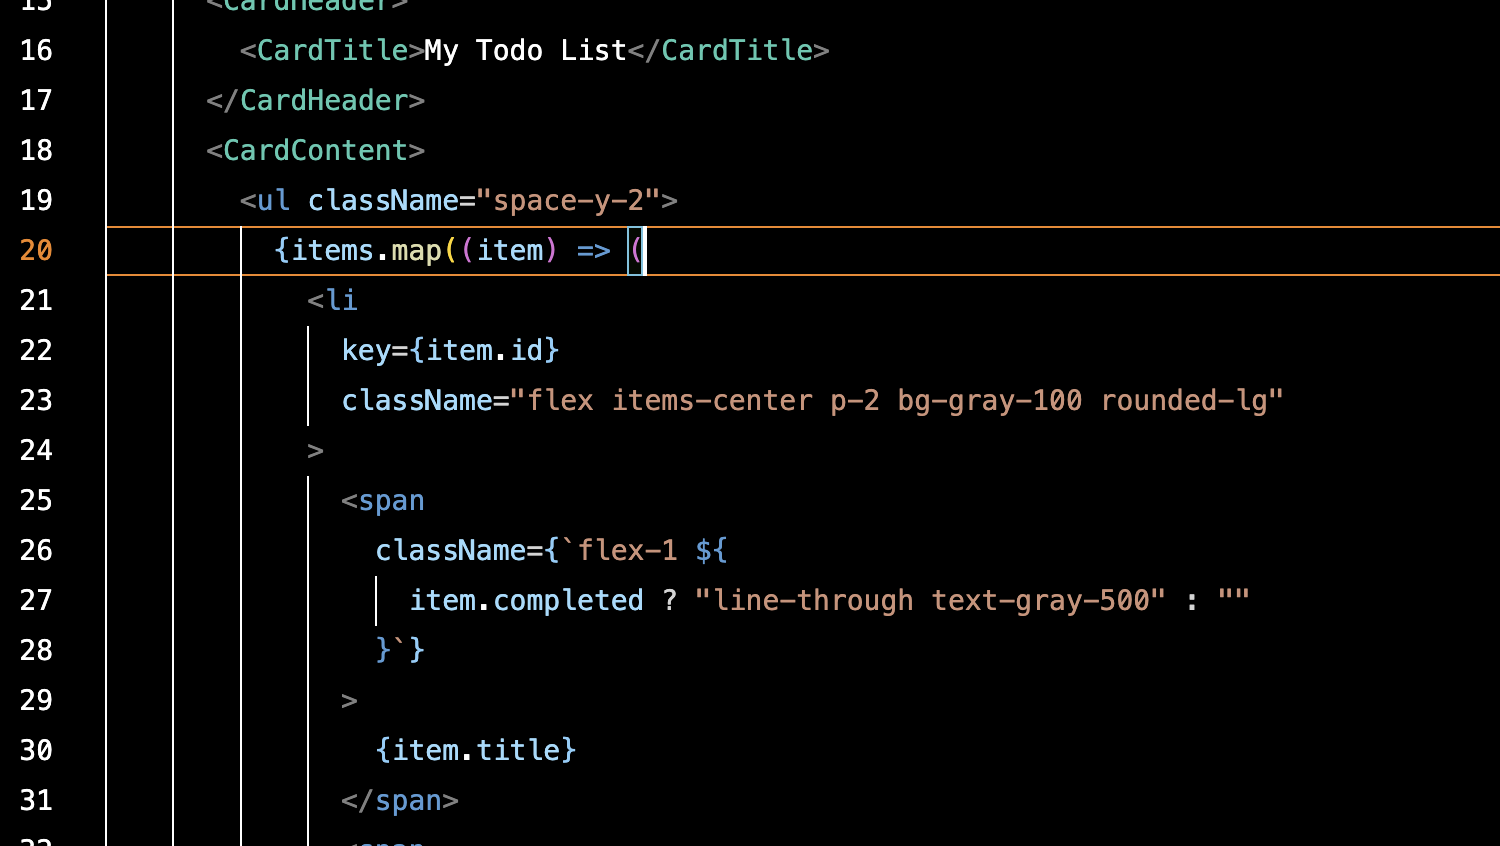
As we just learned, JavaScript's .map method applies a function to each element of an array and generates a new array from the results. This functionality is particularly useful in React when rendering components, because we often need to generate multiple similar components based on an array of data. Let's look at how to use .map in React.
First, let's say we have an array of data. For example:
let names = ["Taro", "Hanako", "Jiro"];
Now, let's say we want to render each of these names as a list item. Here's how we can do that with .map:
function NameList() {
  let names = ['Taro', 'Hanako', 'Jiro'];

  return (
    <ul>
      {names.map((name, index) =>
        <li key={index}>{name}</li>
      )}
    </ul>
  );
}
In this code, we're using .map to generate an <li> tag for each element in the names array. We're also setting a key property to help React track each element and handle re-rendering efficiently.
Speaking of the key property - it's crucial for React to efficiently re-render when array elements are added, removed, or modified. While using index as a key is possible, it's better to use unique IDs when elements might change order.
As you can see, React's combination with JavaScript's .map method lets you efficiently render multiple components based on array data. This makes building dynamic web applications with lots of data much more flexible and efficient.
Try It Yourself: Challenges
Let's test what we've learned with some challenges. These will help you better understand .map and get comfortable using it in React.
Challenge 1: Working with Number Arrays
Let's start with this array of numbers:
let numbers = [10, 20, 30, 40, 50];
Using .map, create a new array where each number is halved.
Challenge 2: Working with Object Arrays
Here's an array of objects:
let students = [
  { name: "Taro", age: 15 },
  { name: "Hanako", age: 14 },
  { name: "Jiro", age: 16 },
];
Using .map, create a new array where each student is one year older.
Challenge 3: React Rendering
For our final challenge, let's practice using .map in React. Using the students array from above, create a <Student> component that displays each student's name and age in this format:
Taro (15 years old)
Hanako (14 years old)
Jiro (16 years old)
This article was originally published on Qiita.