Introduction to Tmux
Recently, I've started using Kitty again, a GPU-accelerated terminal emulator.
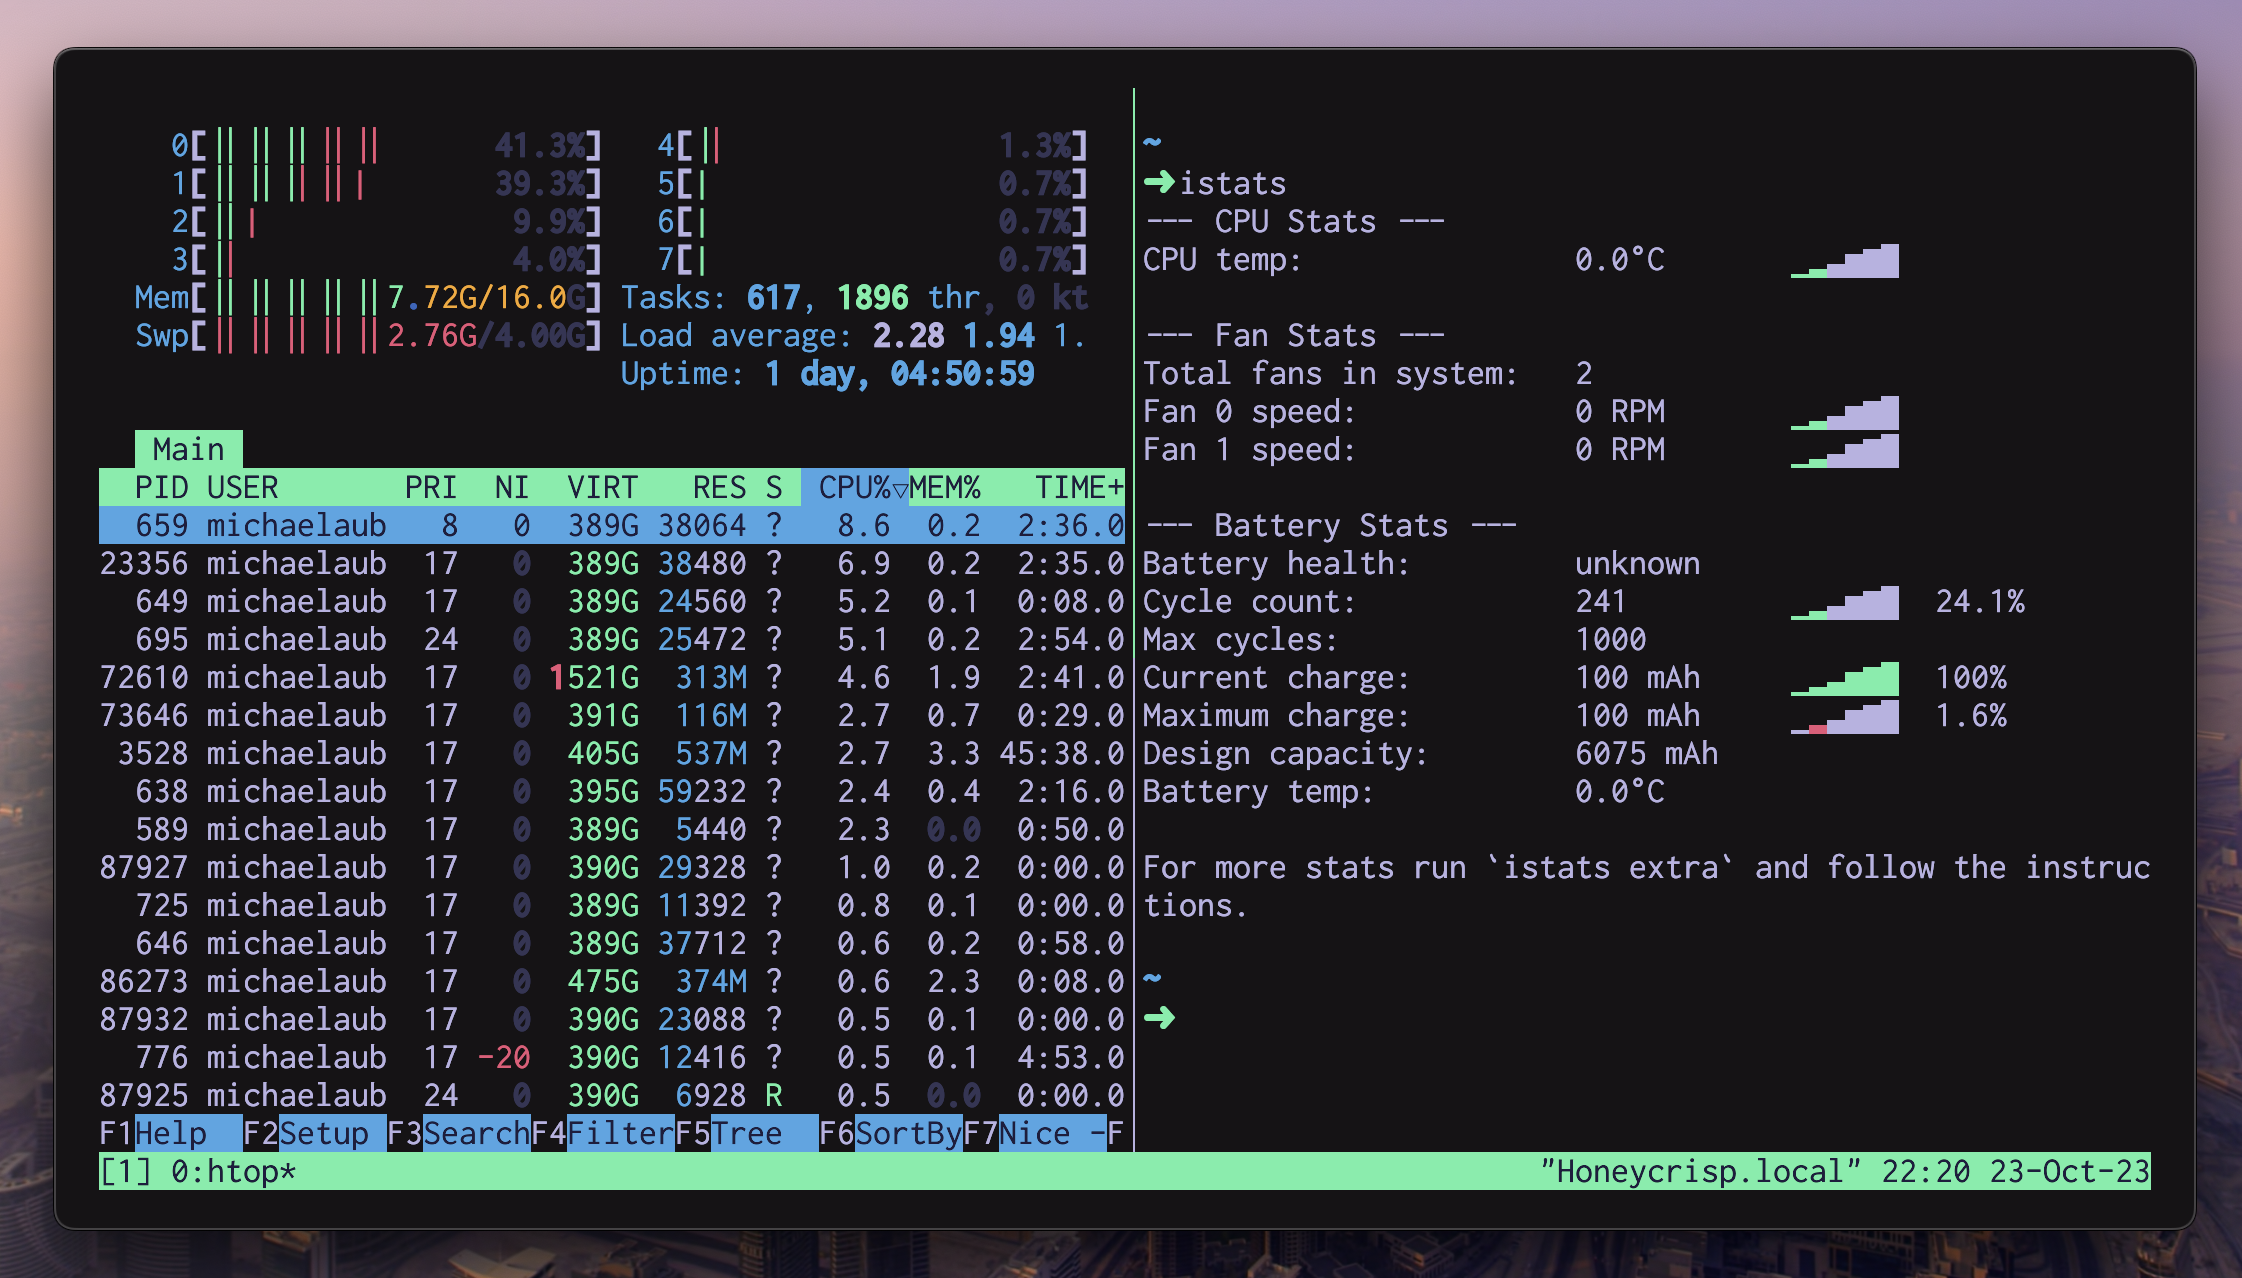
One of my frustrations is that on my Mac, the "Layouts" feature in Kitty doesn't work due to some conflict with existing keyboard shortcuts. While I could change the keyboard shortcuts, I've opted for a different solution. I'm relying on an old and reliable technology: Tmux.

Since I'm a bit rusty on the basic usage, I've put together this simple guide for myself. I thought it might be useful to others, so I'm sharing it here.
If you haven't installed it yet, you can install it with brew install tmux.
-
Start a new tmux session: Open your terminal and run
tmux. -
Split vertically: Within the tmux session, press
Ctrl-bfollowed by%. This splits the window vertically. -
Split horizontally: Press
Ctrl-bfollowed by".
Basic Navigation and Management Commands:
- Move between panes: Press
Ctrl-bfollowed by arrow keys. - Close a pane: Press
Ctrl-bfollowed byx. - Detach from session: Press
Ctrl-bfollowed byd.
Best Practices:
- Name your sessions: Use
tmux new -s session-nameto make sessions easier to identify later. - Reattach to sessions:
tmux attach -t session-nameis useful when returning to detached sessions.
This article was originally published on Qiita.